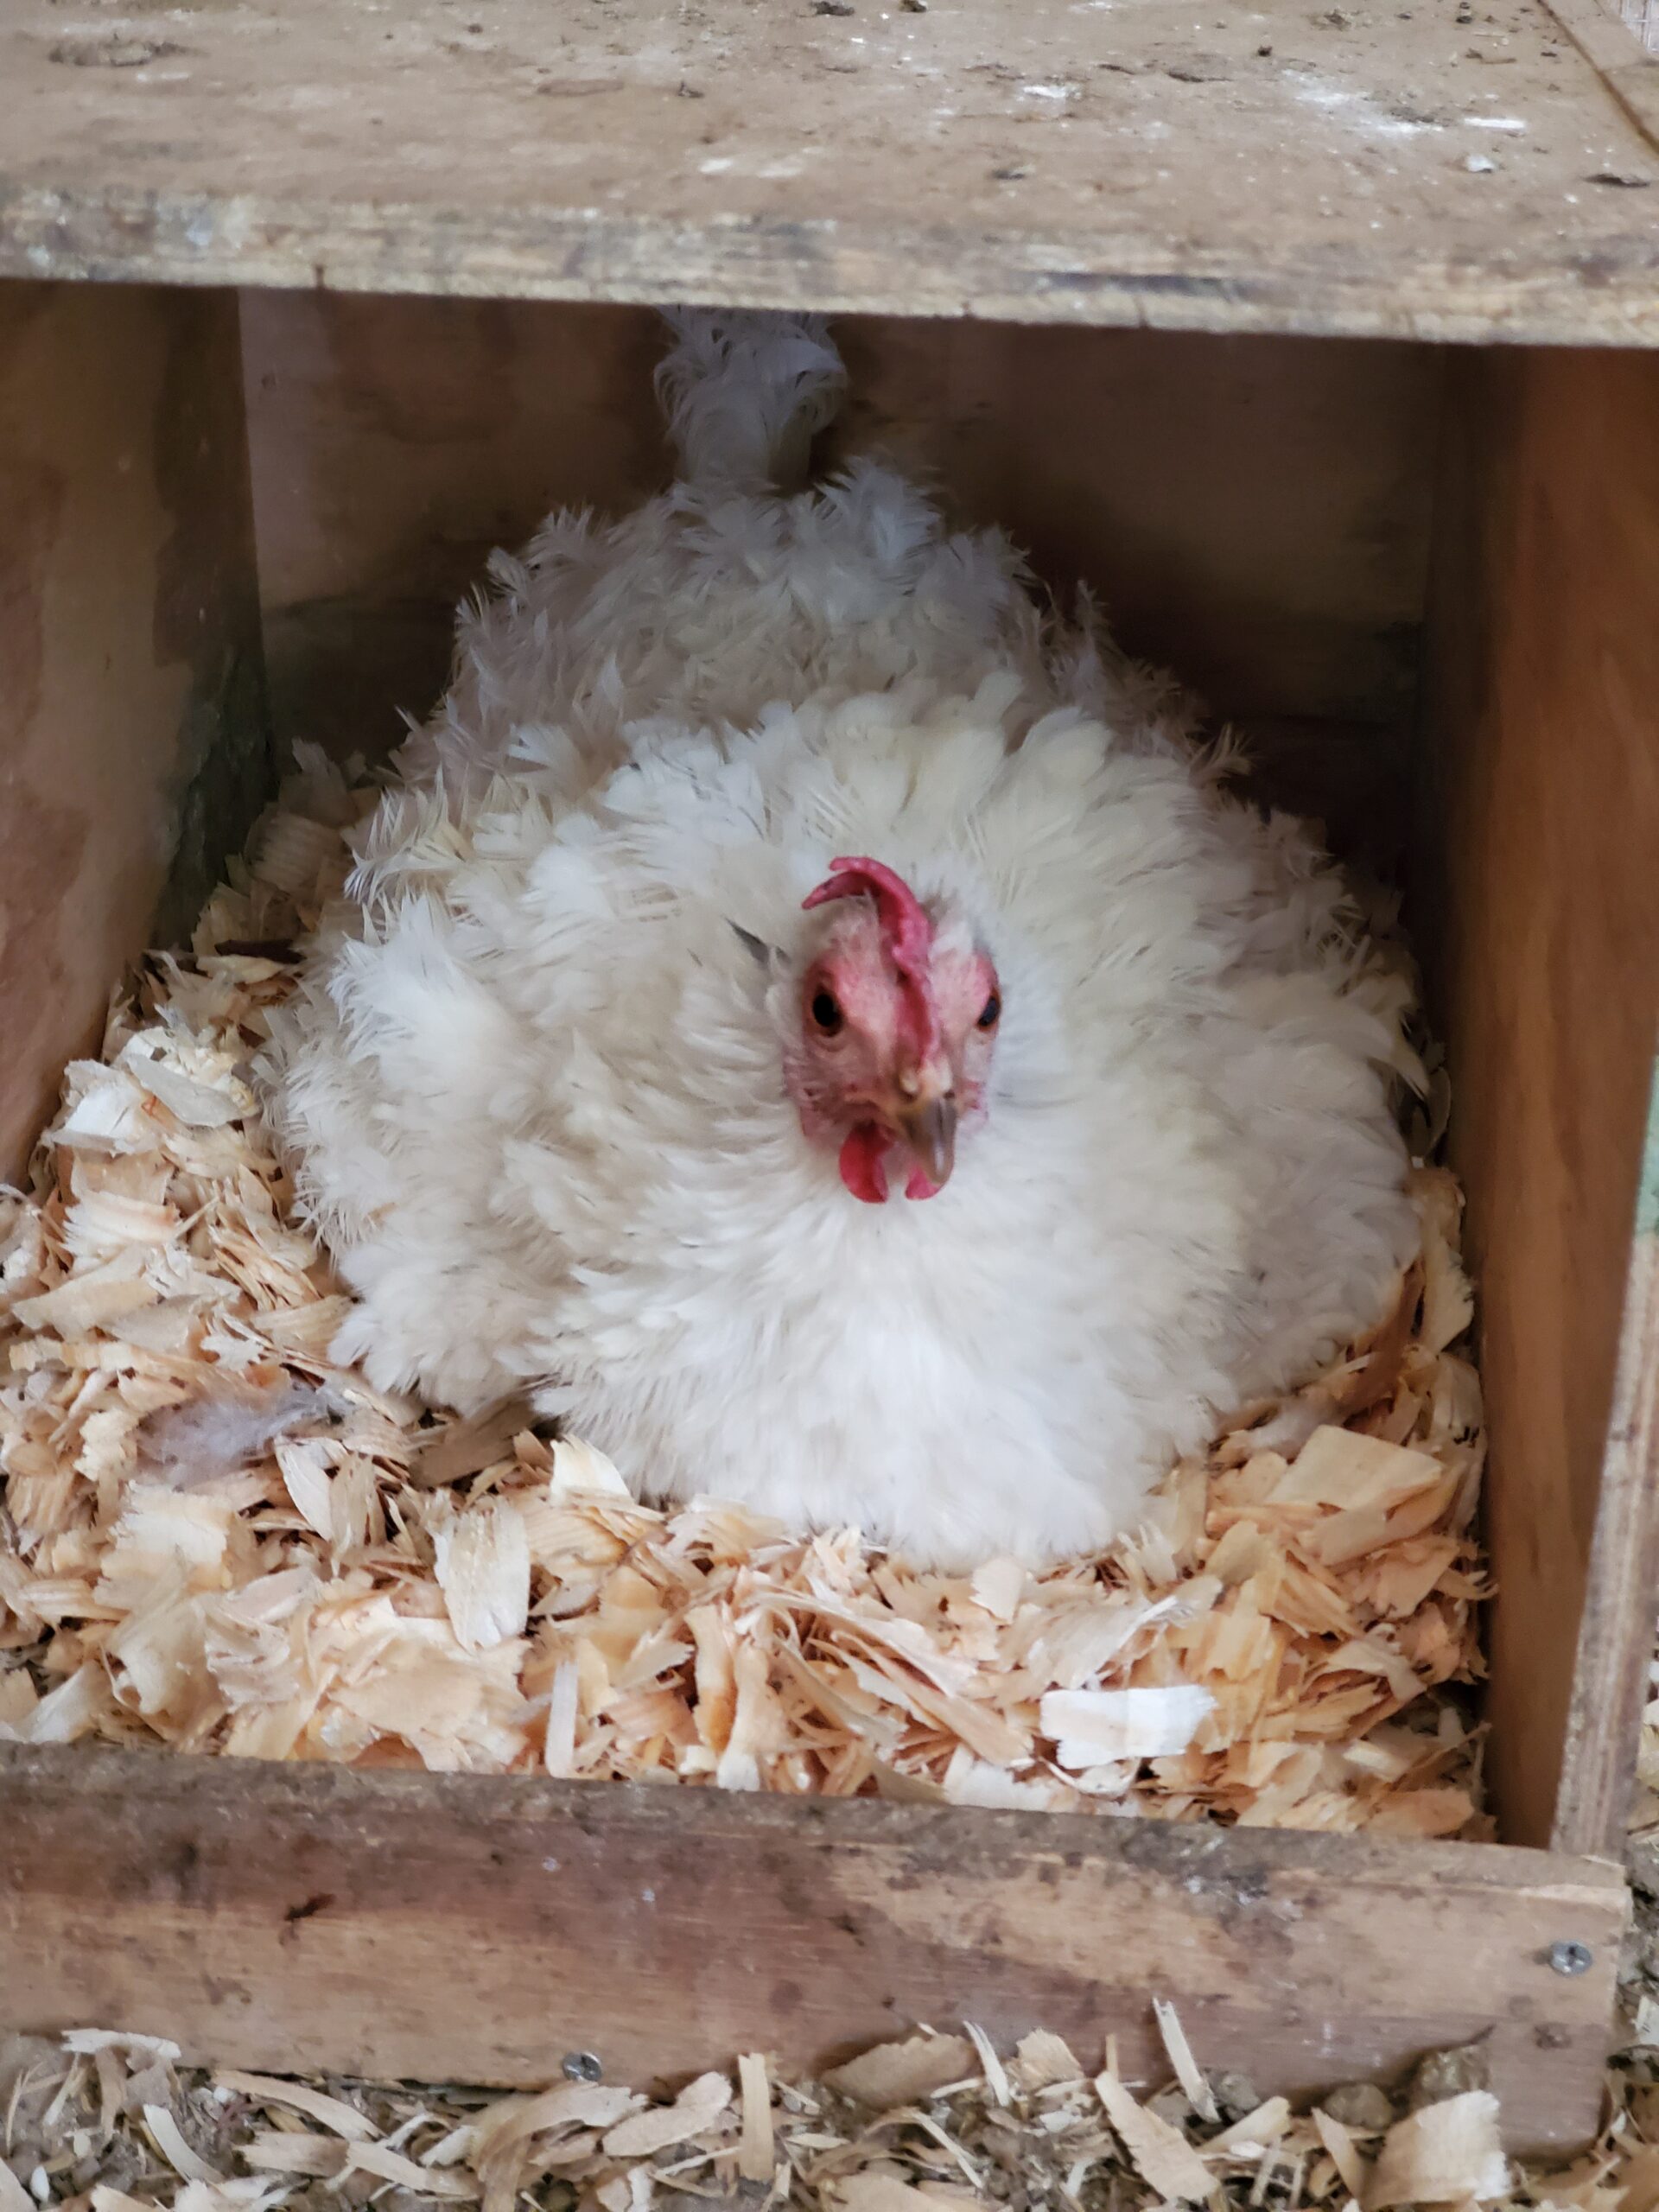
Broody care can be daunting, but in this article, we are taking the guess work out of it for you with some easy steps that any seasoned or newbie backyard chicken keepers can do! Learn what you need to to know if a hen in your flock decides she wants to hatch chicks and how to prepare for the possible issues that may arise. Hearing those little cheeps in your coop can be so exciting and rewarding – so let’s learn how to successfully navigate the process.
What’s A Broody Hen and What Do I Need to Do?
Basically a hen that has committed to hatching chicks is known as a broody. Instinct, hormones and lighting conditions are driving her behavior and a broody hen will lay a clutch of eggs, or steal a few from her flock mates, and sit on them until they hatch. The tell tale behavior of a broody hen is refusing to leave the nest, puffing up if disturbed, pecking anyone who dares to intrude her space and fiercely defending the clutch of eggs she is sitting on regardless of her place in the pecking order. Some of the broodies we’ve had are very low on the order, but they suddenly manage to send the other scattering with their new found brazen behavior.
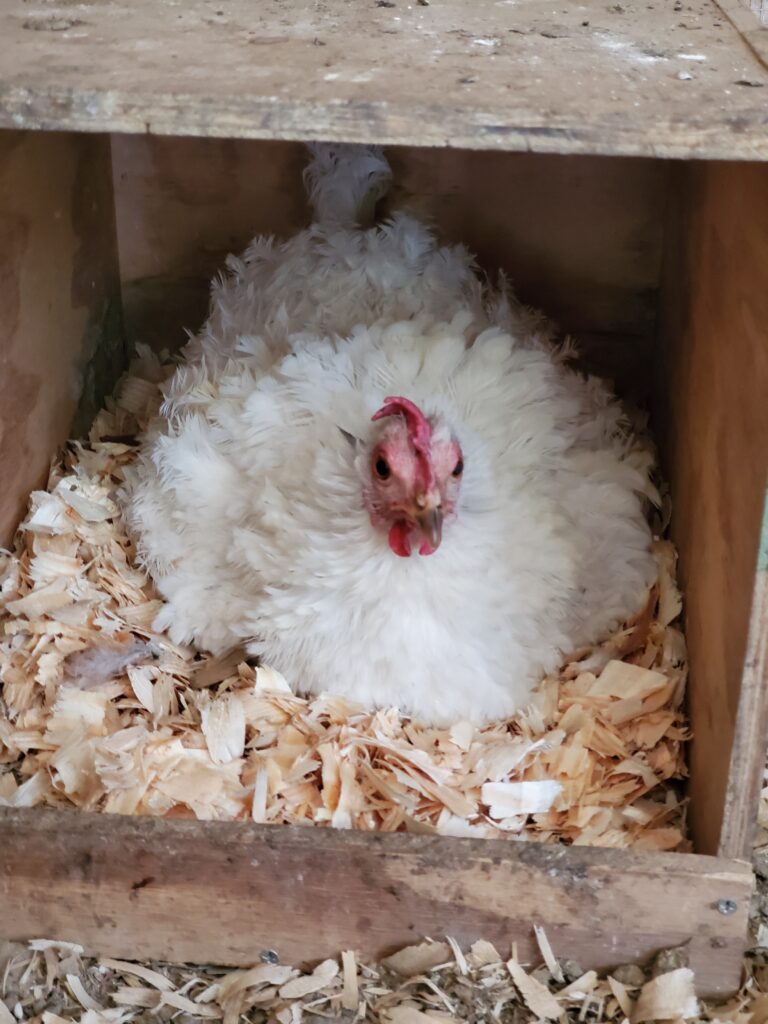
Some breeds of chicken do tend to go broody more often, silkies are notorious broodies for example, but in our coop our buff orpingtons are hands down our best mama hens as far as hatching and protecting their babies. We also have a frizzle hen who is tiny but ferocious, and has hatched the most eggs so far for us in her 3 year life. Any hen can become broody, but not every hen will in their lifetime and no, you can’t force a hen to go broody – it just doesn’t work like that.
To Be or Not to Be…Broody Edition
So you have a hen showing broody behavior – Now begins the process of deciding whether you’re going to attempt to break the hen of her broodiness or let the broody hen hatch eggs.
Many factors come into play when making this decision and each may differ with every coop. If this is your first time with a broody hen, it’s a good idea to do your research to see what the best option you may have with your backyard chickens set up.
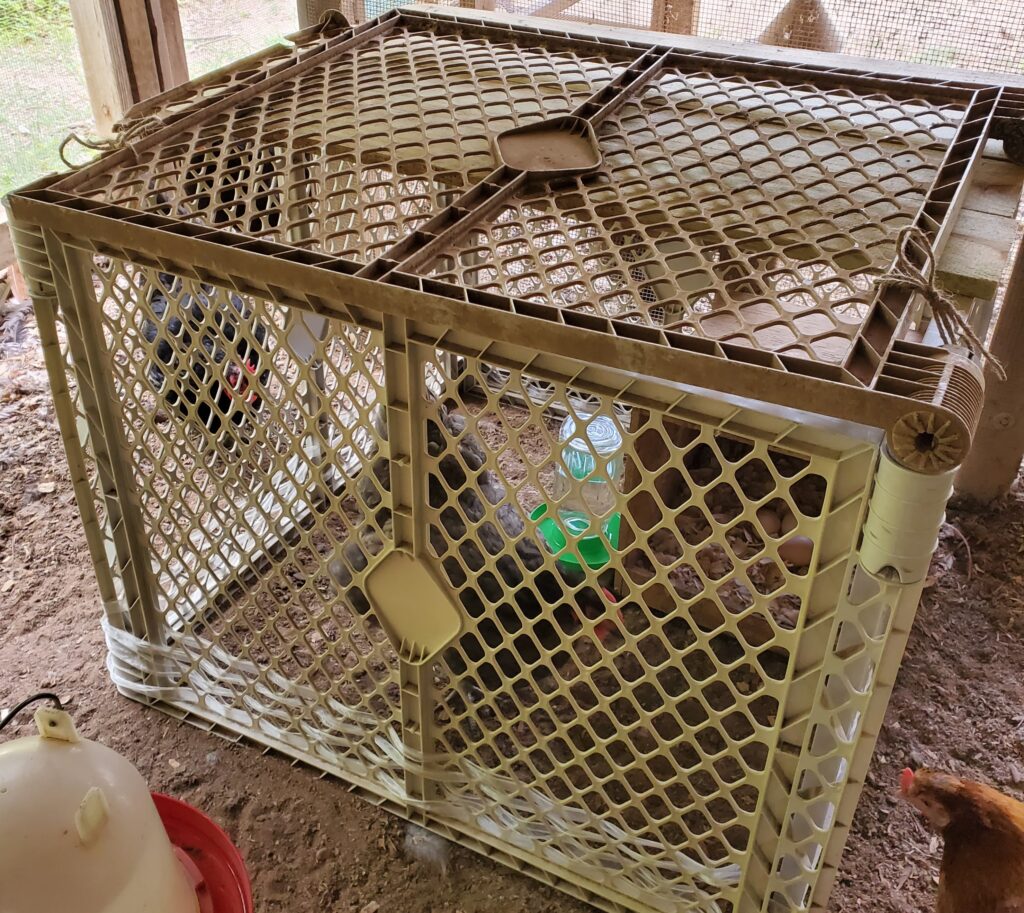
If you don’t want your hen hatching chicks then you will have to “break” her broodiness by removing her from the nest and placing her where she can’t keep her belly warm like a wire bottom cage that is up off the ground placed on blocks or bricks to keep the air flowing under her as pictured below in our coop. Most broody hen’s behaviors are typically the same, growling, puffing up and pecking anyone and everyone who messes with her. Your best chance for breaking her is to act quickly cooling her belly off, making sure to provide food and clean water because the process can take days, sometimes even a week or more. We give them a chance to break out of broody jail every other day and if they return to the rest of the flock they get to stay out but if they run straight to the nesting area to get in a box – it’s directly back to the cage.
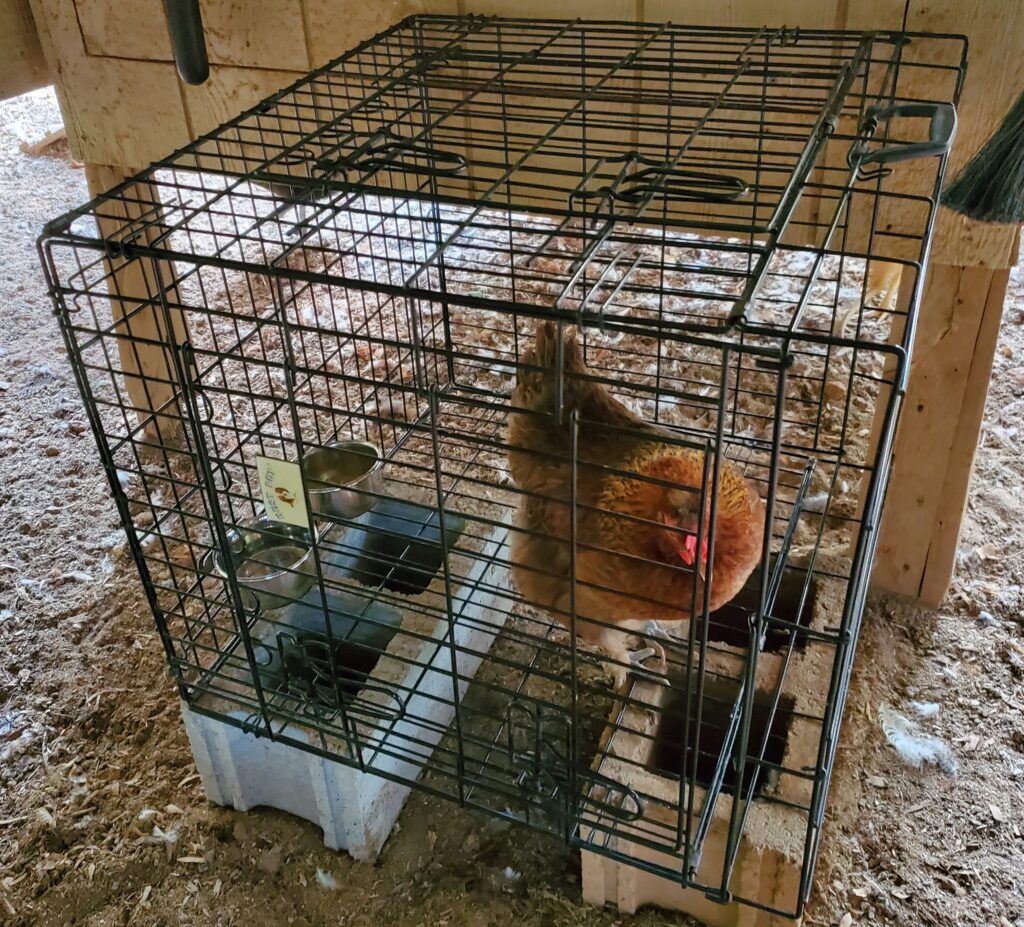
I have yet to see a broody break on her own without intervention in my 8 years of raising chickens. It’s in the best interest of your hen to act quickly and remove her from the nest boxes and make sure she isn’t able to make a nest anywhere else. While the wire cage won’t be ideal, in our experience, it takes less than a week usually of consistently preventing the hens from accessing any spot they can nest in, so be sure your wire cage doesn’t have any bedding in it. The goal is air flow and cooling off their chest and belly area quickly to prevent the hen from starving or becoming weak from heat stress and not leaving the nest for adequate food and water.
What’s the Best Way to Successfully Hatch Chicks?
So if you’re going to allow the hen to hatch some eggs for you, now you need a plan. In our coop, we have 6 nesting boxes and 21 adult hens. We prefer to move our broody mamas from the regular boxes for two reasons – one is we don’t want them taking up nesting space for our egg production for 21 days and our main flock is not bully free and new chicks, even those protected by a mama hen, can be hurt whether intentionally or not. Some flock owners have successfully allowed broody hens to hatch and raise babies within their main coop without issue, but this article will mainly focus on using a broody pen, broody coop or private brooding pen within your coop to hatch and raise new baby chicks.
There is no match for how feisty these hens can be when they are determined to hatch eggs. Our broody hens start in early spring and this past season we had six hens separated at once in everything from a brooder box to a dog crate to makeshift cage out of baby gate panels. Hens can go broody at any time of year, but often when we start to emerge from cold to warm weather – they unite and all go broody at one time. I swear it’s contagious. Any of these options can be filled with wood shavings, we prefer large flake pine shavings like the bags you get from Tractor Supply that look like this…

You’ve got your secure place set up for your broody hen, now what? Your hen needs fresh eggs to sit on of course – and they can’t be any ol’ unfertilized eggs! If you have a rooster, then you have fertilized eggs and you’re good to go – just decide how many eggs to give her to hatch and slide them under her, she will happily tuck them in and do the rest of the work for you. If you don’t have a rooster in your flock, then you’ll have to find some by searching online or from a trusted friend willing to let you buy some from them. Posting on local Facebook groups is a great way to find fertilized eggs near you if you don’t have any other chicken raising friends. Chicken folks are pretty great like that!
Most hens can sit on up to a dozen eggs (or more) successfully, but for smaller hens, like bantams, you may need to reduce that amount to ensure a great hatch rate. Remember also, that you cannot sex eggs, so you will likely end up with some roosters in your hatching of chicks – so go ahead and be thinking what you’ll do when that happens.
If your hen is sitting on unfertilized eggs, make sure to remove those when you give her the fertilized ones so you can keep track of which ones you can expect to hatch. If you are not separating your broody into her own area, use a pencil and make some kind of marking, like an “X” on several spots of the egg, so that you can remove the newer ones that are laid after the hen starts sitting. This will help you know which eggs need to be collected so that your don’t end up with rotten eggs due to the hot weather or partially developed ones if you have a rooster in your coop.
What to Expect During the Incubation Period?
Once your hen has her fertilized eggs, mark your calendar for 21 days from the day you put the eggs under her and you’ll have your expected hatch date. While it’s not an exact science to determine hatch day, in my experience that’s a pretty accurate timeline for most hatches give or take a day. We leave food and fresh water daily though most mamas only leave the nest sparingly because their maternal instincts have kicked in and their only job is to hatch their new eggs. You will not be prepared for the foul smelling, huge piles of broody poop that accompany these hens and you won’t ever forget the smell I promise. Hopefully they leave the egg area to poop, but sometimes you’ll have to deal with cleaning it up while they’re out drinking and eating so as to not have an unsanitary space for the chicks to hatch. I tend to see a young hen or first time mama poop in the egg area, but my seasoned mamas do tend to leave the nests thankfully. Replace shavings as needed so the hatching eggs will have a clean space upon arrival to help reduce any unsanitary conditions while they get used to life out of the shell.
We do keep our mother hen maternity ward inside our main chicken coop for security reasons because this is a safe place for both hen and chicks, but should you decide to make a separate area for them, please ensure that they are protected with hardware cloth and protection from the elements just as you would for your laying hens. While mama hen is laying on her clutch of eggs she will consume less feed, but be sure to make it available along with cold water, changed frequently especially during the hot days of summer. If I see the momma hen isn’t getting out to eat and drink, I’ll place a water dish (a small ramekin will do) close to her to ensure she isn’t getting dehydrated or prone to heat stroke. If you smell the broody poop, but don’t see it, you will need to carefully remove mama hen, clean the area, making sure to not disturb the eggs if at all possible and let the hen return to her position after you’ve removed any soiled shavings.
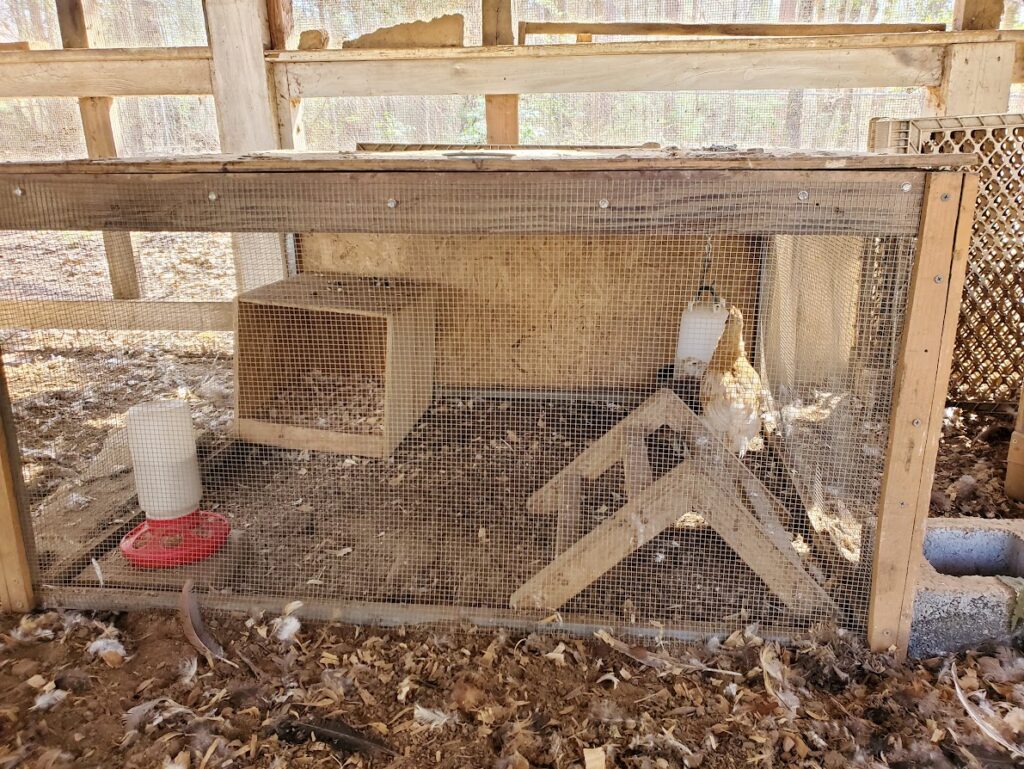
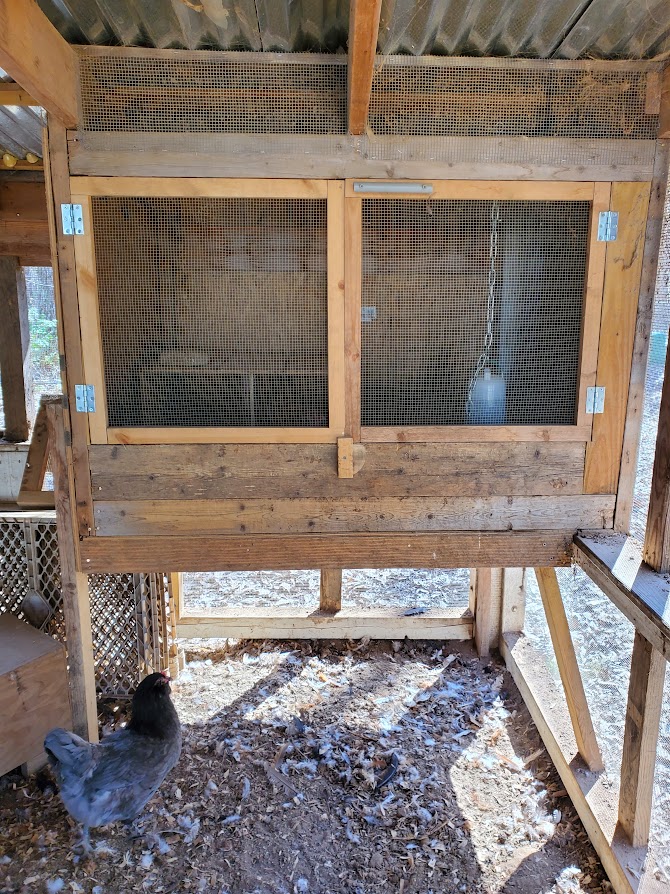
After the first couple of hatches in our coop, we opted to build a permanent extra pen space in our coop to accommodate broody hens without taking up precious space on the floor of the coop and run. As you can see in the picture below, the space is fitted with doors that have hardware cloth to keep mama and babies in when they hatch, but also has a ramp so that the space can be use for extra nesting boxes or sick bay should it be needed as such. All of the construction in our coop was done by my husband, but don’t worry if you or your spouse isn’t handy – you can use dog crates and pens as well as baby gate pieces as long as you make sure to keep a close eye on the hatched chicks so they don’t escape out any of the enclosure gaps or holes.
If you plan to candle the eggs to check on development, we recommend doing it at 7 days and 14 days and then not picking them up after that as eggs will be in the hatching position and you don’t want to unintentionally cause a problem by placing them upside down. You can use a strong flashlight or purchase an egg candler to check for viable embryos. There are a ton of great YouTube videos of how to candle chicken eggs and the correct conditions to be able to see if the eggs are developing. It’s trickier with some eggs that others, and can be frustrating if you can’t see anything at all – it does happen. We don’t typically candle ours unless it’s well past 21 days just to confirm there is not movement before discarding the eggs that may not have hatch or died during the incubation period, mama hens will sometimes push bad eggs out of the nest because they just know, as mama hens do, that they won’t hatch and we try to confirm that before discarding them.
What Could Possibly Go Wrong?
One thing to note, especially with first time mama hens, is that unfortunately not all are good mothers. They can turn into the worst version of themselves and injure, kill and likely eat their own chicks very quickly at the first sign on injury or blood. If this happens to you, you need to have a plan to remove the other chicks or finish the incubation process yourself. In our coop, these mamas do not get a second chance to hatch again – they are likely to repeat this behavior again and it’s just not worth it.
We don’t have an incubator, but do have a set up for chicks with a heat plate should we need to rescue them and bring them inside for their own protection. This is definitely NOT the easy way to do this, but it can be done successfully if you plan ahead. Chicks cannot stay out in the elements until they are fully feathered, around 5 weeks, without supplemental heat. We don’t put a heat lamp in our coop for any reason due to the fire risk, so our set up is in our storage building close to the house with heat plate designed for this purpose.
In the case of abandoned eggs where you don’t have an incubator, it’s a good idea to know who in your group of chicken friends who may have one you could utilize short term or even put the eggs under a surrogate mother in their coop to develop the rest of the way. If you have more than one broody, you can put the eggs under her of course, but it’s best if they have similar hatch dates because once the first round of eggs hatch, mama hen may abandon the nest and not finish hatching them out anyway. Building a community of folks who you know are like minded is such a blessing, especially in times like these. However, if you don’t have that option, and don’t want to purchase an incubator, the developing chicken eggs will be a loss and need to be discarded. Plan ahead so you don’t end up with that situation if you can avoid it.
Basic Chick Care and Notes about New Mamas
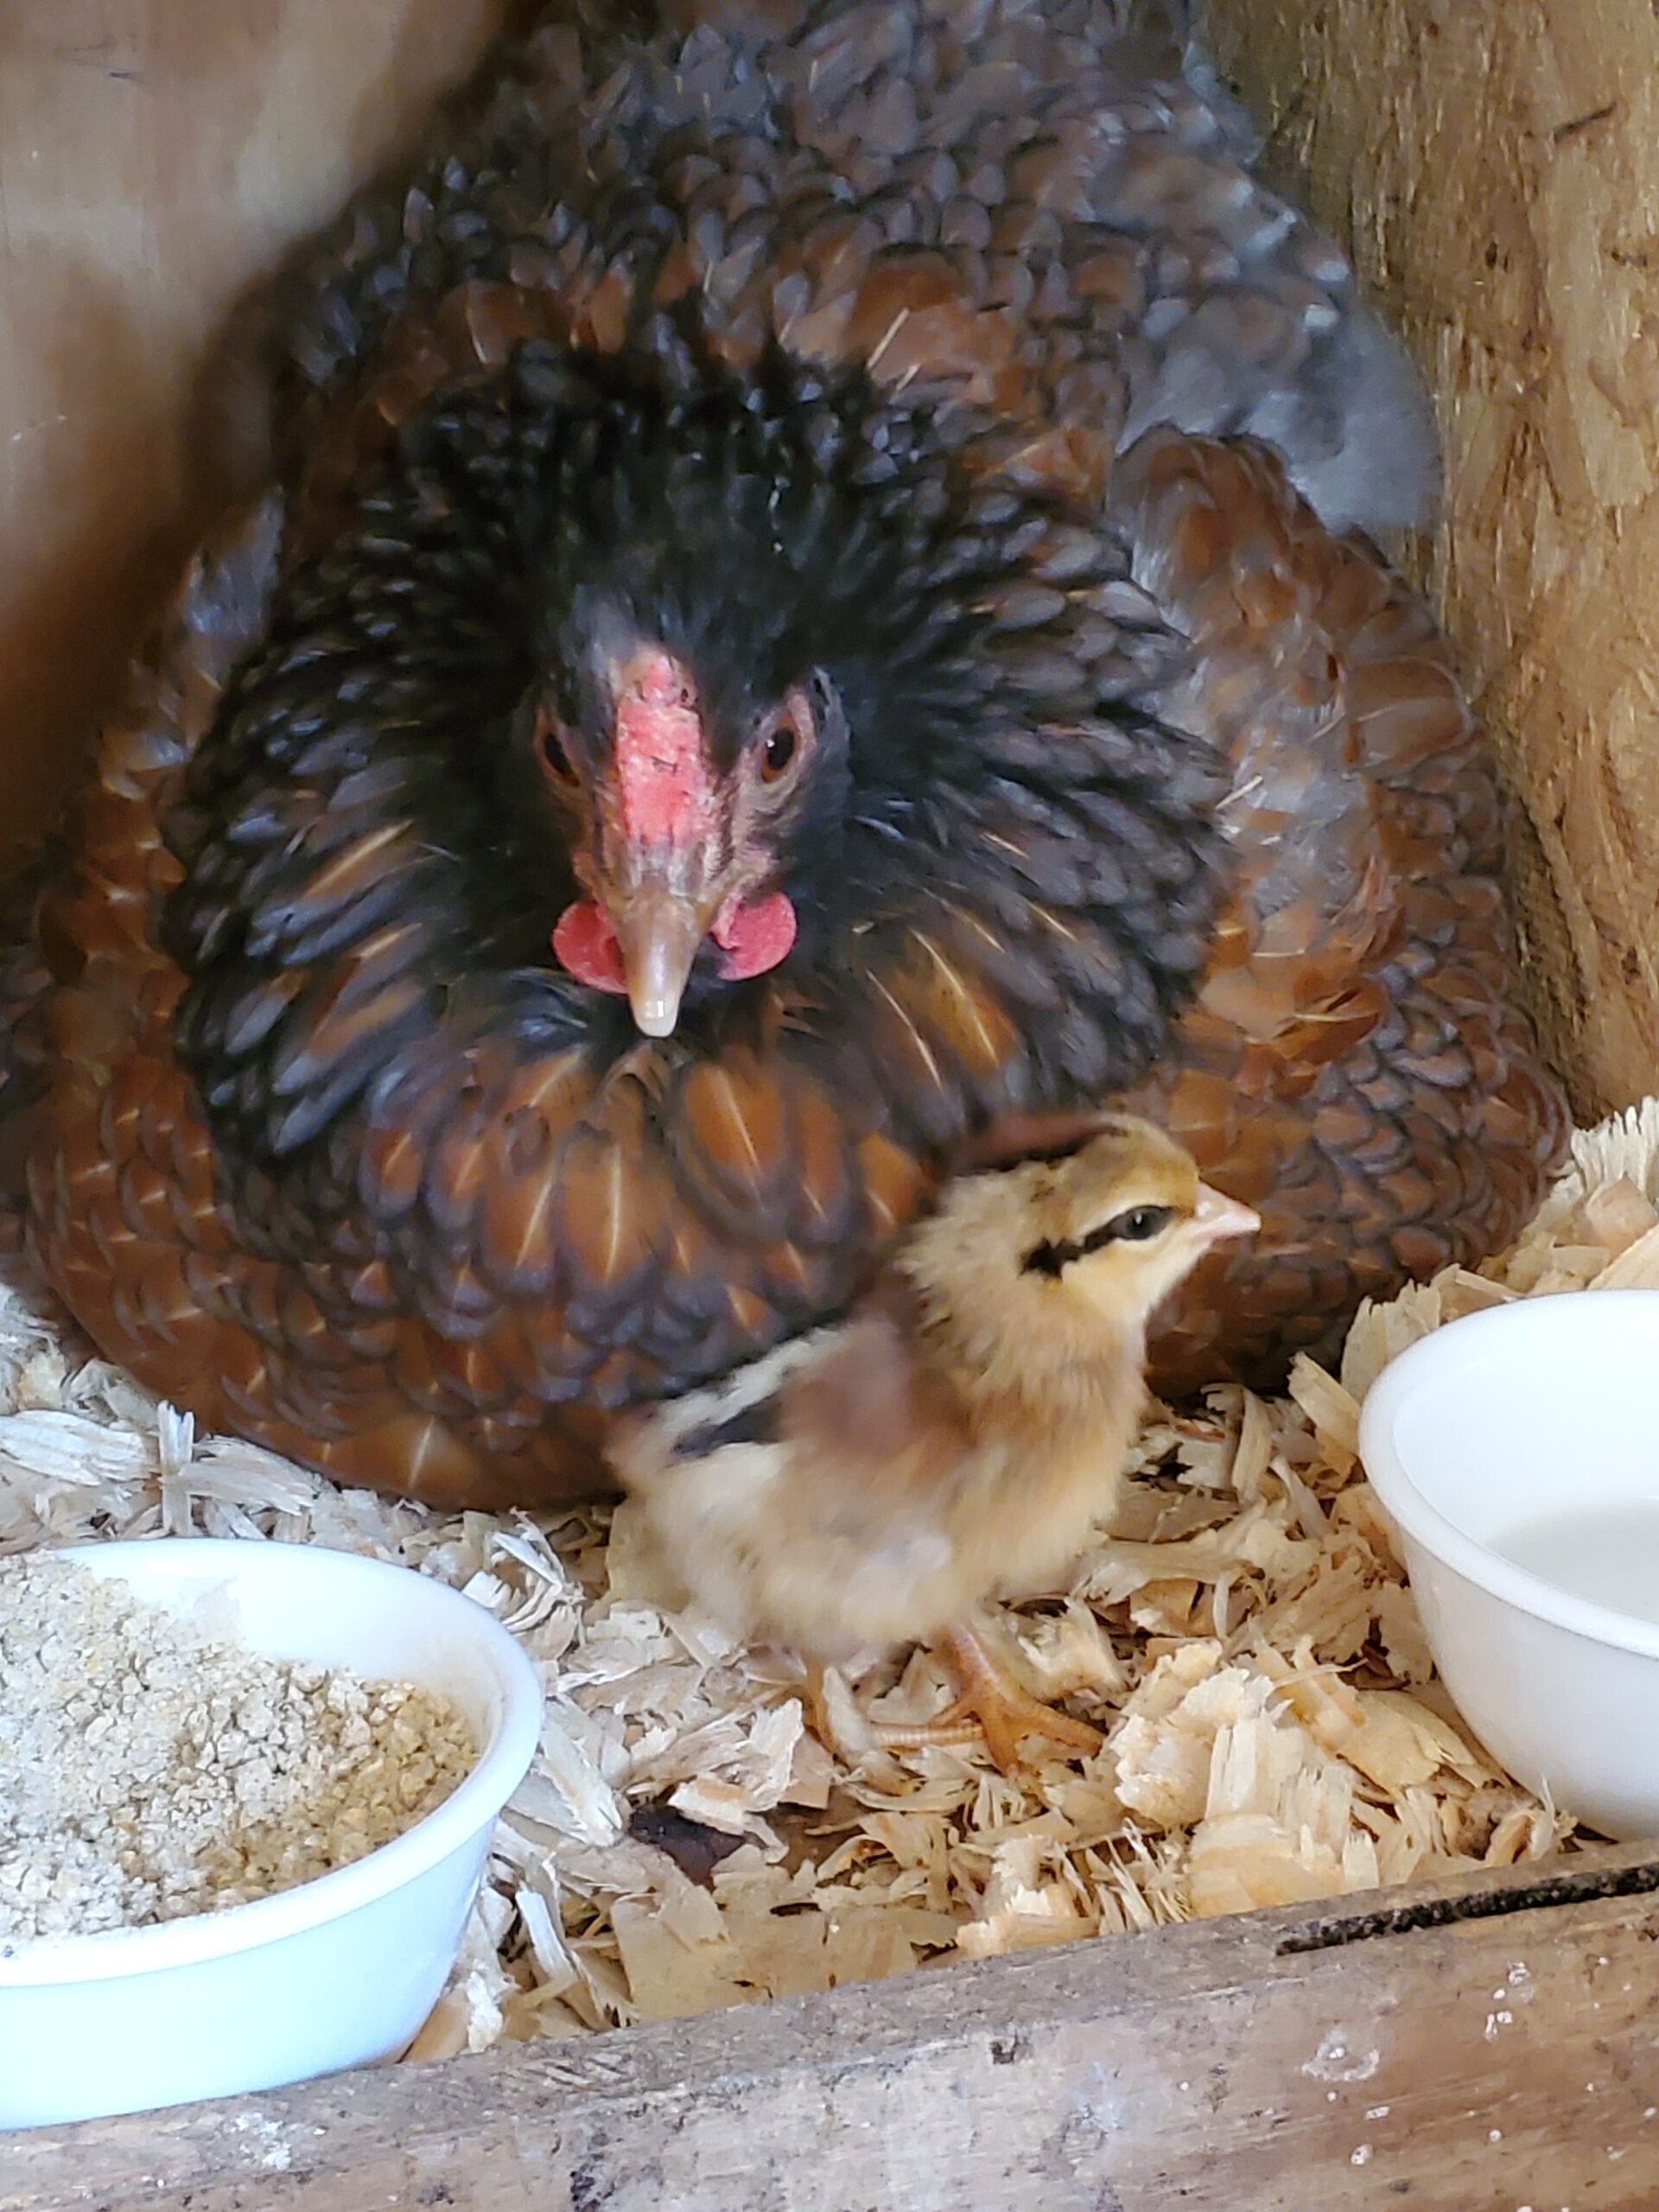
Young chicks won’t need any food ration for the first couple days as they survive off the yolk they absorbed in the shell, but you need to have chick starter on hand by day 21 to be prepared. We love New Country Organics starter, but any starter from the feed store will work. Mama hen can eat this starter for the duration of her seclusion as well since you don’t want the chicks to have access to layer feed as it can be detrimental to their kidneys with the higher calcium levels in adult hen feed.
We use the shallowest waterer or put marbles in a deeper one to keep them from drowning themselves while they are learning to eat and drink with mama – they’re not the smartest of the farm animals for sure. If they are in their own space with mama, you really don’t need to do anything to help the little chicks do their thing – mama hen will do all the work. When you decide to introduce mama and chicks back into the main flock only do it under supervision to ward off any crazy antics with bullies or aggressive behavior by mama. We don’t introduce ours until 4 to 5 weeks because they’re big enough (and fast enough) to get out of the way of the other hens. If space doesn’t allow them to be separated that long be sure that mama has a place to retreat to and protect her babies – or she may just hunker down in a corner and dare anyone to come close – only you can decide what works best in your space.
Mama hens will be in rough shape following her time sitting on eggs. They will often molt as their bodies adjust after the 21 day period so don’t be alarmed if you see feather loss. Just ensure they have plenty of food an water and she will recover nicely. She will gain any weight lost during incubation back pretty quickly and you shouldn’t notice any lasting effects to your hen.
Broody Hen Care Recap
- Know the signs of a broody hen
- Have a plan for breaking a broody if you don’t want to hatch eggs
- Have a space that been turned into a broody area, or set up a safe space for your hen to hatch eggs in your coop
- Ensure your hen is sitting on fertilized eggs
- Mark your calendar for hatch day
- Have a plan if mama hen abandons the eggs mid incubation
- Towards day 21, have chick starter ready for the chicks to eat and appropriate waterers for them
- Have a plan with a heat plate should you need to support chicks until five weeks when fully feathered
- Monitor new mama hens for acts of aggression to be able to remove chicks if necessary
- Enjoy hearing those little cheeps and watching mama hen raise her new babies


The Comments
Lauren
Great information!! I know where to go next time I have a broody hen! Thanks, Stephanie!